
Protecting your Apple ID and iCloud account is crucial in today’s digital world. One of the most effective ways to secure your Apple account is through Two-Factor Authentication (2FA). This guide will walk you through everything you need to know about iCloud 2FA, including setup, troubleshooting, recovery, and best practices.
What is iCloud Two-Factor Authentication (2FA)?
Two-Factor Authentication adds an extra layer of security to your Apple ID. Even if someone knows your password, they cannot access your account without a second form of verification.
How it works:
- You sign in with your Apple ID and password.
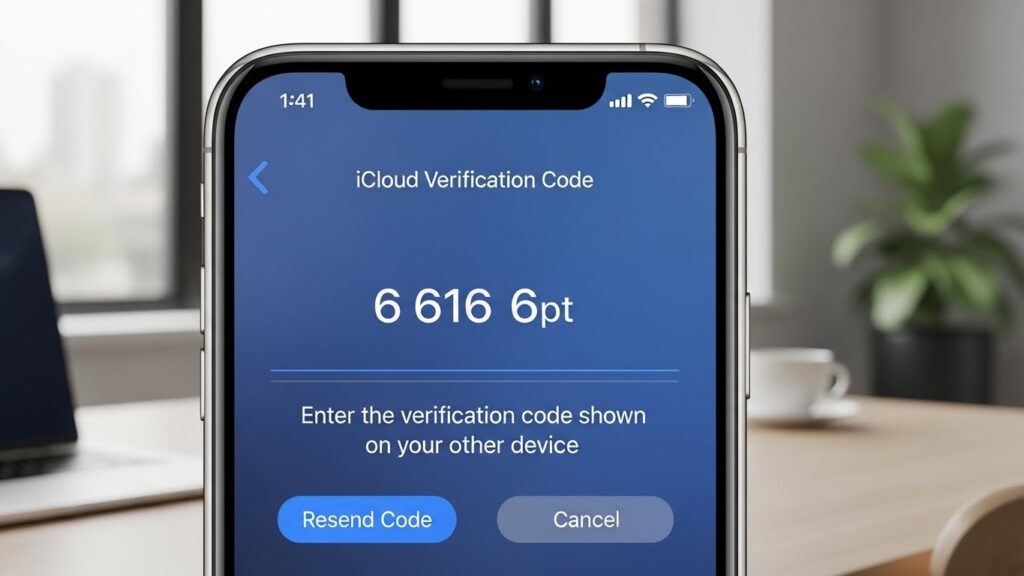
- Apple sends a verification code to a trusted device or phone number.
- You enter the code to access your account.
This ensures that only you (or trusted devices) can access your iCloud data.
Why Two-Factor Authentication Matters
- Protects your personal data: iCloud stores sensitive information like photos, contacts, emails, and backups.
- Prevents unauthorized access: Even if your password is stolen, hackers can’t log in without your verification code.
- Enhances Apple ecosystem security: Works across iPhone, iPad, Mac, and Apple services.
Also Read:
How to Backup iCloud Photos to External Hard Drive
2FA vs Two-Step Verification
Apple previously offered two-step verification, but 2FA is more secure and modern.
| Feature | Two-Step Verification | Two-Factor Authentication |
| Device awareness | Limited | Recognizes trusted devices |
| Recovery options | Less flexible | Recovery key & account recovery |
| Security level | Basic | Advanced, recommended |
Benefits of iCloud 2FA
- Prevents account hacks and phishing attacks.
- Supports recovery with trusted devices and phone numbers.
- Works seamlessly across Apple devices.
- Enables use of Apple security keys for extra protection.
How to Set Up iCloud 2FA
On iPhone or iPad
- Open Settings → tap your name → Password & Security.
- Tap Two-Factor Authentication → Turn On.
- Confirm your trusted phone number (where verification codes will be sent).
- Enter the verification code sent to your phone to complete setup.
On Mac
- Click the Apple menu → System Settings → Apple ID → Password & Security.
- Click Turn On Two-Factor Authentication.
- Verify your trusted phone number and enter the verification code.
On the Web (Apple ID Account Page)
- Visit appleid.apple.com → Sign In.
- Under Security, click Turn On Two-Factor Authentication.
- Enter a trusted phone number to receive verification codes.
Adding Trusted Devices and Phone Numbers
- Trusted devices: Devices signed in with your Apple ID that can receive verification codes.
- Trusted phone numbers: Numbers where Apple can send codes via SMS or calls.
To add a phone number:
- iPhone/iPad: Settings → Password & Security → Add Trusted Number
- Mac: System Settings → Apple ID → Password & Security → Add Trusted Number
How 2FA Works in Daily Use
- Sign in to iCloud or an Apple service.
- Apple sends a verification code to your trusted device/phone number.
- Enter the code to complete login.
Important: Never share verification codes. Apple will never ask for them over email or phone.
Using Apple Security Keys with 2FA
Apple now allows security keys (hardware-based keys) to enhance 2FA.
- What they are: Physical devices that verify your identity during sign-in.
- Setup:
- Go to Apple ID → Security → Add Security Key.
- Follow the on-screen instructions to register your key.
- Benefits: Protection against phishing and account takeover.
- Precautions: Keep backup methods (trusted devices/phone numbers) in case your security key is lost.
Recovery and Account Management
Using a Recovery Key
- Go to Apple ID → Password & Security → Recovery Key → Turn On.
- Store it in a secure location (offline recommended).
- You can use the recovery key to regain access if all trusted devices are lost.
Resetting Apple ID Password
- Visit appleid.apple.com → Forgot Apple ID or password.
- Follow the prompts using trusted devices, phone numbers, or recovery key.
Troubleshooting Common Issues
- Lost access to a trusted device/number:
- Use another trusted device or phone number to receive codes.
- If all devices are lost, use your recovery key or Apple account recovery.
- Verification code errors:
- Check your network connection.
- Ensure device time & date are correct.
- Request a new code.
- Apple ID locked:
- Follow on-screen instructions at iforgot.apple.com to unlock.
Tips to Keep Your Apple ID Secure
- Use a strong, unique password.
- Regularly review trusted devices and numbers.
- Enable notifications for account changes.
- Be cautious of phishing emails and fake websites.
- Consider Apple security keys for extra protection.
FAQs
What if I lose my iPhone with 2FA enabled?
Use another trusted device, trusted phone number, or your recovery key to access your account.
Can I use 2FA without a phone number?
No, Apple requires at least one trusted phone number for verification.
What if I don’t receive the verification code?
Check your network connection, ensure your number is correct, and request a new code.
How many trusted devices can I have?
Apple doesn’t specify a strict limit, but you can manage them in Settings or Apple ID account page.
Can I turn off 2FA?
New Apple IDs may be required to keep 2FA on. Older accounts may turn it off in Settings or Apple ID page.
What are Apple security keys and why use them?
Physical keys that add an extra layer of protection against phishing and hacking.
How do I recover my Apple ID if it’s locked?
Use recovery key, trusted devices, phone numbers, or Apple’s account recovery process.
Is 2FA only for iCloud?
No, it protects your entire Apple ID, including App Store, iTunes, and other Apple services.
Final Thoughts
Enabling iCloud Two-Factor Authentication is one of the simplest and most effective ways to protect your Apple account. By following the steps above, adding trusted devices and numbers, and keeping recovery options ready, you ensure your personal data stays secure while enjoying Apple services safely.